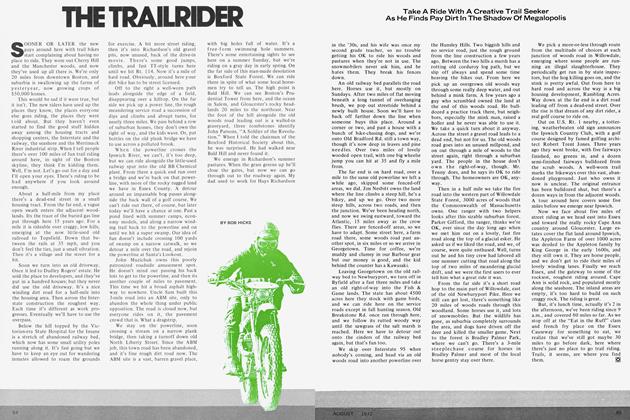
Making New Trails
Making New Trails
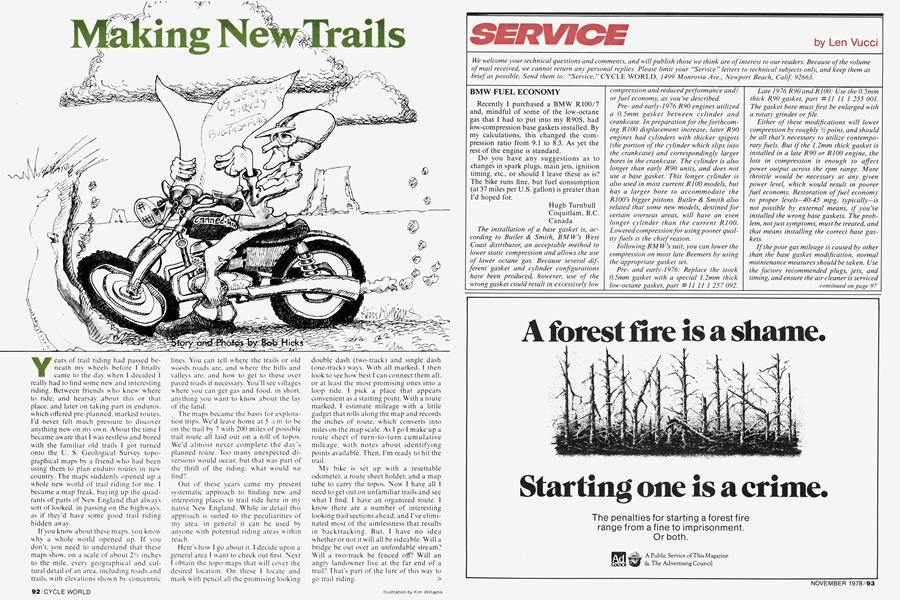
Years of trail riding had passed beneath my wheels before I finally came to the day when I decided I really had to find some new and interesting riding. Between friends who knew where to ride, and hearsay about this or that place, and later on taking part in enduros, which offered pre-planned, marked routes, I'd never felt much pressure to discover anything new on my own. About the time I became aware that I was restless and bored with the familiar old trails I got turned onto the U. S. Geological Survey topographical maps by a friend who had been using them to plan enduro routes in new country. The maps suddenly opened up a whole new world of trail riding for me. I became a map freak, buying up the quadrants of parts of New England that always sort of looked, in passing on the highways, as if they'd have some good trail riding hidden away.
If you know about these maps, you knowwhy a whole world opened up. If you don't, you need to understand that these maps show, on a scale of about 2Vi inches to the mile, every geographical and cultural detail of an area, including roads and trails, with elevations shown bv concentric
lines. You can tell w here the trails or old woods roads are. and where the hills and valleys are, and how to get to these over paved roads if necessary. You'll see villages where you can get gas and food, in short, anything you want to know about the lay of the land.
The maps became the basis for exploration trips. We'd leave home at 5 a m to be on the trail by 7 with 200 miles of possible trail route all laid out on a roll of topos. We'd almost never complete the day's planned route. Too many unexpected diversions would occur, but that was part of the thrill of the riding; what would we find0
Out of these years came my present systematic approach to finding new and interesting places to trail ride here in my native New England. While in detail this approach is suited to the peculiarities of my area, in general it can be used by anyone with potential riding areas within reach.
Here's how I go about it. 1 decide upon a general area I want to check out first. Next I obtain the topo maps that will cover the desired location. On these 1 locate and mark w ith pencil all the promising looking
double dash (two-track) and single dash (one-track) ways. With all marked, I then look to see how best I can connect them all, or at least the most promising ones into a loop ride. I pick a place that appears convenient as a starting point. With a route marked, I estimate mileage with a little gadget that rolls along the map and records the inches of route, which converts into miles on the map scale. As 1 go I make up a route sheet of turn-to-turn cumulative mileage, with notes about identifying points available. Then, I'm ready to hit the trail.
My bike is set up with a resettable odometer, a route sheet holder, and a map tube to carry the topos. Now I have all I need to get out on unfamiliar trails and see what I find. I have an organized route. I know there are a number of interesting looking trail sections ahead, and I've eliminated most of the aimlessness that results in backtracking. But, I have no idea w hether or not it w ill all be rideable. Will a bridge be out over an unfordable stream? Will a two-track be fenced off? Will an angry landowner live at the far end of a trail0 That's part of the lure of this way to go trail riding.
Bob Hicks
Wait a minute, some of you probably are already saying, what's all this about topos, route sheet holders, that stuif? If you aren't into maps, or haven't ridden enduros, these may be mysteries to you. So, for those who are mystified, here's a look at the hardware.
Topo maps can be bought in almost any city. Map dealers are listed in the yellow pages and usually state if they carry the U.S.G.S. Topographical maps. They have a master map of each state which is an index to the detailed maps covering the state. Thus you can pick out the quadrants for that part of that state in which you propose to explore. For about $2.50 each, you get these mines of information. You also get (free) a little guidebook that explains all the symbols on the maps, so you can figure out what you are looking at.
The little measuring gadget is usually available at the same store, or at a stationery store. They're about the size of a wristwatch dial, with a small roller on an extension on one side, and cost about $5.
What is a route sheet? It's a strip of adding machine tape on which you list a consecutive series of mileages measured, to a tenth usually, by your little map meter. Each mileage noted will have an instruction beside it, such as: 2.4—L on WR. That means that at 2.4 miles on your odometer, you should find a woods road leading off to the left and you turn left onto it. Perhaps the next entry will read 3.1—S on DR. Here it says that at 3.1 miles, you go straight on a dirt road. You can use w hatever shorthand code is best for you. When done, the route sheet will be several feet long. This you place into the route sheet holder.
This device is sold at most dirt bike shops for about $15. It is a small box with two parallel rollers in it. Knobs on the ends of each roller protrude from the ends of the box. On top is a plastic window, usually magnifying. The route sheet is taped to one roller, last end first, and rolled up on it. The leading end is taped to the other roller so that the information side of the sheet faces up through the window. As you ride along, you roll the route sheet past the window from mileage to mileage as your odometer adds up. Instructions on what to look for and do are presented to you
conveniently. The whole unit straps to your bars with a hose clamp or two, normally.
I carry the topos along because the route sheet developed from the map is at best only a rough initial effort. All sorts of questions arise during the ride and it is necessary to consult the maps to determine what to do when faced with a problem not noted on the route sheet. I found a plastic tube, costing about $3, sold in sporting goods stores to fishermen for storing away fishing rods. It's perfect. It fits across the bars and holds a fat roll of maps. A screwin cover protects the maps from trail conditions. A couple of hose clamps hold the map tube in place on the crossbrace of the bars.
If this all sounds like a bit too much in the way of preparation for a trail ride, then you're still not sufficiently bored with riding the same old trails. On the other hand, if all this has caught your fancy and you sense a new adventure in trail riding in the offing, now's the time to give it a go. Pick out your area, get the maps, make up the route sheet and go out and see where it leads you. You'll probably find some good, some bad, and some changes to make for the next ride.
A few warning words about that. First, the topo maps are not permanent. Only change is permanent, so the topo map makers are always at work, revising and updating. This means that any given map will be a year old, or perhaps 10 years old. You may come over a hill on a one-track trail and find yourself riding into a subdivision. Or blocked by an Interstate. Or up against a fence.
Or you'll have one map dated 1973, joining the next quadrant except that the next map was done in 1963. Or maybe 1954 by a field crew and updated with aerial survey only in 1968. The result is a map with a southern boundary showing a dirt road around Old Craggy, and a second map that shows Old Craggy and no road. Chances are the road was put in after the map was done, but whatever the facts, you won't actually know until you ride out there and see for yourself.
Thus, that first ride is for exploratory purposes. When you've followed the route sheet made from the maps, you're ready to refine the route—if it provided a reasonable ride with minimum hassles. With the changes in mind, you redo the route sheet into what you now feel, having ridden the terrain, makes a good loop ride of the length you enjoy. This time you bring along a notebook on a flat mount clamped to the map tube with hose clamps. As you follow the second draft route sheet, you record the actual odometer mileages from turn to turn, with notes on any landmarks that will assist in identifying turns in addition to mileage readings. The in-the-field odometer readings will not exactly correspond to those measured on the maps; this is why you do this more precise route sheeting. In order to record actual mileages and still follow earlier measured mileages on the route sheet, though, you need to remember where you've been the first time. The mileages will be close enough to help you recall when you do get to turns you may have forgotten.
This finished route sheet is the final step in finding your own new trails. It can be copied easily on a copier, and then made available to friends, or a club. They have, thanks to you, a trail route with no markings. Only those with route sheets know where the route goes. Nobody else can follow it. Sort of special.
To allow for differences in odometer readings, the route sheet is ALWAYS RIGHT! The rider using your route sheet must adjust his odometer from time to time if he notes he's not staying synchronized. If he constantly keeps adjusted at all easily recognized turns, then he's less likely to get confused at less clearly defined turns. There is no limit to who can enjoy the fruits of your exploration. Anyone properly equipped and competent to use route sheets can follow this unmarked trail. And you, by now, know it well enough to no longer need the route sheet.
In fact, in a while you begin thinking about finding someplace new to go trail riding, and the cycle starts over again as you head for the map store. It's habit forming. And does it ever broaden your trail riding horizons. E3