Painting Plastic
PAINTING PLASTIC
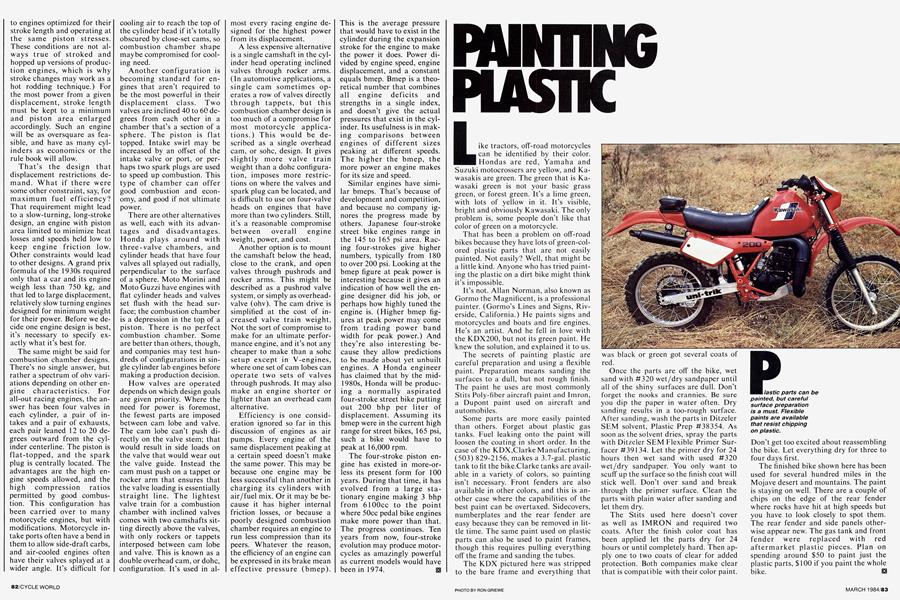
Like tractors, off-road motorcycles can be identified by their color. Hondas are red, Yamaha and Suzuki motocrossers are yellow, and Kawasakis are green. The green that is Kawasaki green is not your basic grass green, or forest green. It’s a lime green, with lots of yellow in it. It’s visible, bright and obviously Kawasaki. The only problem is, some people don’t like that color of green on a motorcycle. That has been a problem on off-road bikes because they have lots of green-colored plastic parts that are not easily painted. Not easily? Well, that might be a little kind. Anyone who has tried painting the plastic on a dirt bike might think it’s impossible.
It’s not. Allan Norman, also known as Gormo the Magnificent, is a professional painter. (Gormo’s Lines and Signs, Riverside, California.) He paints signs and motorcycles and boats and fire engines. He’s an artist. And he fell in love with the KDX200, but not its green paint. He !knew the solution, and explained it to us.
The secrets of painting plastic are careful preparation and using a flexible paint. Preparation means sanding the surfaces to a dull, but not rough finish. The paint he uses are most commonly Stits Poly-fiber aircraft paint and Imron, a Dupont paint used on aircraft and automobiles.
Some parts are more easily painted than others. Forget about plastic gas tanks. Fuel leaking onto the paint will loosen the coating in short order. In the case of the KDX,Clarke Manufacturing, (503) 829-2156, makes a 3.7-gal. plastic tank to fit the bike.Clarke tanks are available in a variety of colors, so painting isn’t necessary. Front fenders are also available in other colors, and this is another case where the capabilities of the best paint can be overtaxed. Sidecovers, numberplates and the rear fender are easy because they can be removed in little time. The same paint used on plastic parts can also be used to paint frames, though this requires pulling everything off the frame and sanding the tubes.
The KDX pictured here was stripped to the bare frame and everything that was black or green got several coats of red.
Once the parts are off the bike, wet sand with #320 wet/dry sandpaper until all of the shiny surfaces are dull. Don’t forget the nooks and crannies. Be sure you dip the paper in water often. Dry sanding results in a too-rough surface. After sanding, wash the parts in Ditzeler SEM solvent, Plastic Prep #38354. As soon as the solvent dries, spray the parts with Ditzeler SEM Flexible Primer Surfacer #39134. Let the primer dry for 24 hours then wet sand with used #320 wet/dry sandpaper. You only want to scuff up the surface so the finish coat will stick well. Don’t over sand and break through the primer surface. Clean the parts with plain water after sanding and let them dry.
The Stits used here doesn’t cover as well as IMRON and required two coats. After the finish color coat has been applied let the parts dry for 24 hours or until completely hard. Then apply one to two coats of clear for added protection. Both companies make clear that is compatible with their color paint. Don’t get too excited about reassembling the bike. Let everything dry for three to four days first.
The finished bike shown here has been used for several hundred miles in the Mojave desert and mountains. The paint is staying on well. There are a couple of chips on the edge of the rear fender where rocks have hit at high speeds but you have to look closely to spot them. The rear fender and side panels otherwise appear new. The gas tank and front fender were replaced with red aftermarket plastic pieces. Plan on spending around $50 to paint just the plastic parts, $100 if you paint the whole bike.