The Service Department
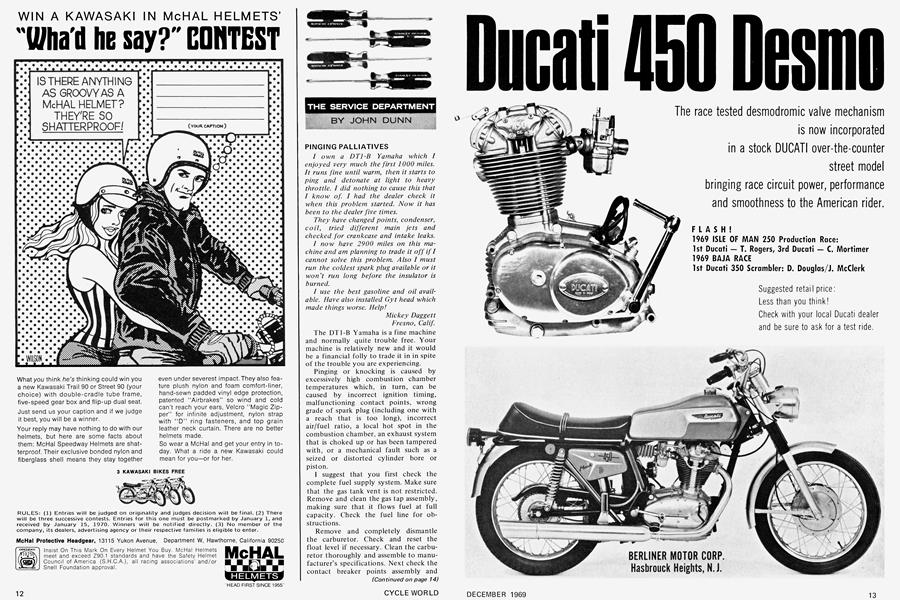
THE SERVICE DEPARTMENT
JOHN DUNN
PINGING PALLIATIVES
I own a DT1-B Yamaha which I enjoyed very much the first 1000 miles. It runs fine until warm, then it starts to ping and detonate at light to heavy throttle. I did nothing to cause this that I know of. I had the dealer check it when this problem started. Now it has been to the dealer five times.
They have changed points, condenser, coil, tried different main jets and checked for crankcase and intake leaks.
I now have 2900 miles on this machine and am planning to trade it off if I cannot solve this problem. Also I must run the coldest spark plug available or it won’t run long before the insulator is burned.
I use the best gasoline and oil available. Have also installed Gyt head which made things worse. Help!
Mickey Daggett Fresno, Calif.
The DT1-B Yamaha is a fine machine and normally quite trouble free. Your machine is relatively new and it would be a financial folly to trade it in in spite of the trouble you are experiencing.
Pinging or knocking is caused by excessively high combustion chamber temperatures which, in turn, can be caused by incorrect ignition timing, malfunctioning contact points, wrong grade of spark plug (including one with a reach that is too long), incorrect air/fuel ratio, a local hot spot in the combustion chamber, an exhaust system that is choked up or has been tampered with, or a mechanical fault such as a seized or distorted cylinder bore or piston.
I suggest that you first check the complete fuel supply system. Make sure that the gas tank vent is not restricted. Remove and clean the gas tap assembly, making sure that it flows fuel at full capacity. Check the fuel line for obstructions.
Remove and completely dismantle the carburetor. Check and reset the float level if necessary. Clean the carburetor thoroughly and assemble to manufacturer’s specifications. Next check the contact breaker points assembly and make sure that the points are in good condition, properly gapped, using their full contact area and that the spring has sufficient tension. Check ignition timing and adjust if necessary. If the points gap has to be reset after adjustment of the timing, double check your work by rechecking the timing.
(Continued on page 14)
Continued from page 12
If the exhaust system is fouled and restricted, this would cause the engine to overheat and result in detonation or pre-ignition, so thoroughly clean the internals of the exhaust system. If possible, it may be worthwhile trying the exhaust system from another machine that runs well.
If checking the items mentioned does not result in a remedy, remove the cylinder head and barrel and check the condition of the piston, piston rings, and bore. Look for evidence of the piston hitting the head and check the condition of the big and small end bearings. Assemble carefully, using new genuine Yamaha gaskets and retorque the cylinder head bolts to the correct specification. Use the spark plug recommended in the rider’s handbook.
DAMPING DEFINED
I am a subscriber, but relatively uneducated in motorcycling and its terms. First, please explain what damping is. Second, Fm thinking of buying a motorcycle for street use and maybe hillclimbing. Would you recommend the motorcycles you think best; I would appreciate it.
Mike L. Perez Long Beach, Calif.
Damping is an essential requirement on all but the very simplest suspension systems employed on motorcycles. The function of a damper is to dissipate energy released by a suspension spring after it has been compressed. If the spring is not damped it will continue to oscillate until all its energy has been used up. Were it not for suspension damping, a motorcycle would still be bouncing long after hitting a bump. The damper also stabilizes the movement of the suspension in a few strokes, the amplitude becoming progressively less.
Damping can be applied by either frictional or hydraulic methods. Many early motorcycles used the friction principle. This employs a series of friction plates and steel discs as the damping medium, not unlike a multi-plate clutch. This type of damper could easily be adjusted to vary the extent of damping, as it was provided with a screwed knob that could be tightened to stiffen up the damping. The present adjustable steering damper system is very similar. Although this type of damper is relatively inexpensive to produce, it had several disadvantages. The main disadvantage was that damping was very much reduced by the presence of oil or water.
Hydraulic damping is employed on nearly all present day telescopic front forks and rear suspension units. Control is achieved by forcing oil through a system of variable restrictions. The damping unit can be tuned during the design phase to most suit the characteristics of each type of suspension system. The requirements are different for on and off road applications.
I suggest that you look at the road tests contained in past issues of CW with respect to the requirements you seek in a dual purpose machine.
SUZUKI CIRCUITRY REVISITED
Re: “Suzuki Circuitry” in the September issue of CYCLE WORLD. I work on Suzuki motorcycles quite a bit and thought the following information might help. First of all, there are other electrical components which share the “hot” wire from the main switch to the ignition coils. The horn, neutral indicator lamp, brake lamp switch, and the two separate ignition coils are all supplied with positive 12-V DC from the main switch in the “on” position through the harness’ orange wire.
(Continued on page 16)
Continued from page 14
In the basic circuit you show, the continuity light should go out altogether when the points open and should be fully illuminated when the points close. On the X6, the system circuit is such that two electrical components will interfere with an infinite resistance across the points in the open position. One is the neutral lamp. If the transmission is in neutral when the points are being checked, the neutral switch will be closed, thus effecting a complete circuit across the neutral lamp filament. When the points open, the lamp will not go out, but will dim considerably. The separate battery source for the continuity lamp will also be trying to light the neutral lamp, which is why the bulb goes out.
With the transmission now in gear, you will find that the bulb goes out completely when the points just open, but that it glows again at about 10 degrees after point opening, and continues to glow until 10 degrees before the points close. Can’t win, right? Well, no sweat. Just slip a piece of paper in between the other set of points and the continuity light will work as it should. At 10 degrees after point opening, the other set of points is just closing, and this grounds the orange wire through the other coil’s primary winding. The difference in bulb brightness is directly proportional to the combined resistances of both coils’ primary windings.
As for the short point life on the X6, it is wise to replace the condensers and check the coil any time the contact points are abnormally affected. Point face “blasting” or bluing are usually accompained by visible arcing at the points, indicating the need for inspection of the condenser and coil. One spook which may cause such problems is the lead which runs from the points to the condenser and lies against the stator plate. 1 have sometimes found that the stator plate has gotten warm enough to melt through the wire’s insulation, causing a current leak. It is simple to pull the leads away from the stator plate for correction.
One rather common cause of coil failure on the X6 is the inclination of some riders to either pull the battery out of the bike in the course of a weight reduction program, or allow the battery to run low on electrolyte. Puncturing of the rectifier follows and the coil is subjected to AC input rather than 12V DC. On the nighttime circuit, the alternator can put out as much as 90 V AC, and this can ruin the coil’s insulation, as well as blow all the bulbs on the machine. One shadetree check for the coil’s condition is to look at the studs which hold the coil to the frame underneath the fuel tank-if they are coated with wax, the odds are that the coil has blown its insulation.
A mechanic and enthusiast, C. W. C.
Thank you very much for your very informative letter. It is obvious that you are well versed on the Suzuki electrics. I feel that the contents of your letter thoroughly cover the confusing phenomena that often occur when checking ignition timing by employing a timing light across the contact points. Your letter will certainly be of interest to a great number of our readers.
BREATH OF LIFE
I just bought a beautiful TR6R, but would like Bonneville performance. The engines are basically the same. I like the single carburetor setup, but I would like more high-speed acceleration and less feeling of “running out of breath.” Would it be feasible to put a 35-mm A mal concentric carburetor on my TR6R? I would like to retain the choke and air cleaner (with screw-on mechanism), but this is not mandatory.
Ronald Lyster Boston, Mass.
You state that the Bonneville has the same engine as your TR6R, with the addition of one carburetor. This is not true. The Bonneville has a completely different cylinder head, the main reason for its higher output.
The intake ports on the TR6R head are less direct and enter the cylinder at a less advantageous angle. Their air flow capacity is accordingly lower. However, the manifold does aid fuel vaporization at low engine speeds, resulting in a much more tractable and smoother engine performance.
Enlarging the cross-sectional area of the manifold runners and matching the manifold to the intake port will produce a small gain at high rpm. When modifying the manifold, maintain the original contoured shape, as it is quite easy to produce a condition of bias (one cylinder would receive more charge than the other).
I definitely advise against the 35-mm carburetor with the standard setup. Even with the modified intake manifold, I suggest nothing larger than 32 mm to start with.